AUTOMATING EMAILS

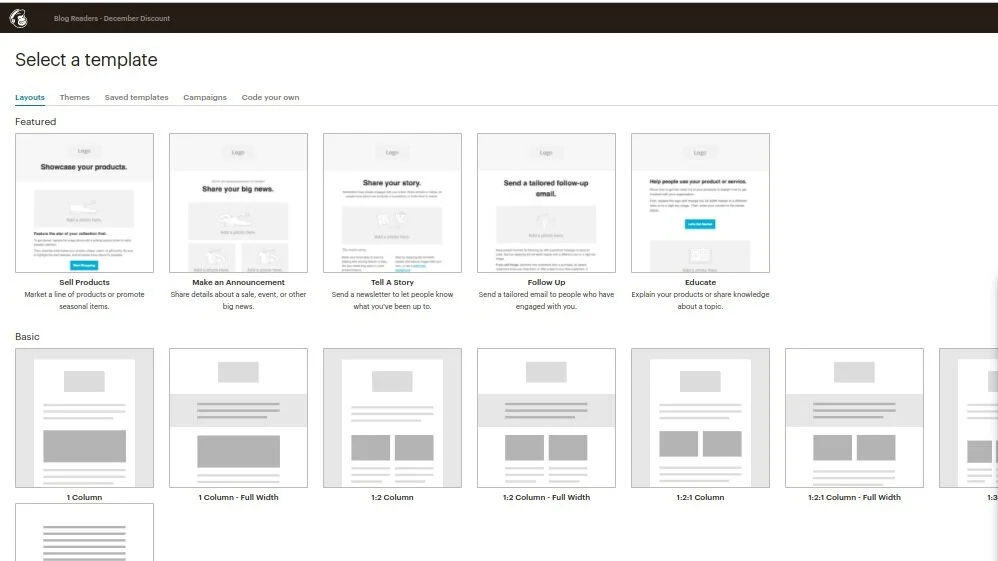
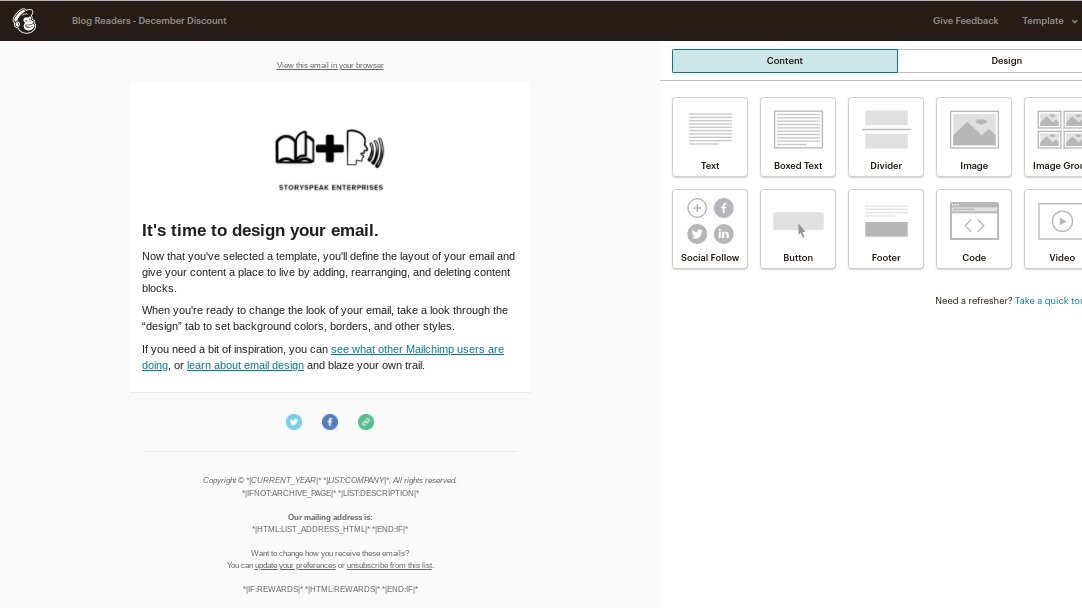
After testing various email marketing tools for independent business owners as a consultant, I have found MailChimp to be the easiest to use, the most affordable and the most effective with other tools used in the portal.

To begin, create a FREE MailChimp account here.

If you are already using an email marketing tool, skip to our e-mail templates section and apply the knowledge without MailChimp.

Note: MailChimp offers a variety of campaigns, but we are only focusing on email campaigns in this section. MailChimp is available in Mobile or Desktop mode. These tutorials are all shown in Desktop mode - please be sure to complete this section on a desktop (laptop or desktop computer) version of MailChimp.

MailChimp requires “Audiences (Subscriber Lists)” to be created before you can create any campaign.

To get started, follow the instructions below to create a new audience in MailChimp:

Screenshot+2019-12-01+at+7.46.09+PM.jpg

Step 1: Choose “Audience”

Navigate to the Audience section of MailChimp by selecting “Audience” in the navigation menu at the top of the screen.

Then select “Manage Audience” button to the right.

Screenshot+2019-12-01+at+7.46.41+PM.jpg

Step 2: Select View Audiences

Select the button on the right that says “Manage Audiences” and then choose “View Audiences” from the dropdown menu.

To select an existing audience that will receive the new email campaign, skip ahead to the next instructions about Creating An Email Campaign

Screenshot+2019-12-01+at+7.46.56+PM.jpg

Step 3: Create A New Audience

Choose the button that says “Create Audience”

Note: MailChimp has audience limits. Free accounts are limited to one audience. To increase the number of email lists you have, upgrade your account.

Screenshot+2019-12-01+at+7.47.31+PM.jpg

Step 4: Choose Audience Settings

The name of the audience should make sense to you as it is only for organizational purposes. You are the only one who will see this audience name in MailChimp. Because you will create many audiences, I recommend using the following naming conventions:

1. Where is this Audience coming from? For example, Instagram

2. Who is in this audience? For example, Soccer Moms

Now I will name this campaign Instagram - Soccer Moms so I can easily see what this email is offering and who it is being sent to without reading it.

Tip: TAGS can also be used to describe WHO is in the audience. To use one audience for many campaigns, I recommend using TAGS to identify the specific target audience. Use keywords in the AUDIENCE MAP you created for tags in Audiences.

Learn more about MailChimp tags here

Screenshot+2019-12-01+at+7.48.20+PM.jpg

Step 5: Set Campaign Defaults

Follow the instructions on the screen to complete the audience settings for future campaigns and press save.

Now we’re ready to start our first email campaign.

Get started below:

Screenshot+2019-12-01+at+7.19.27+PM.jpg

Step 1: Creating an Email Campaign in MailChimp

After following instructions to set up your account, click the monkey head in the far left corner - this is how you go to the “HOME” page in your MailChimp account.

Next, click on the “Campaigns” section.

Then click “Create Campaign” on the right side of the screen.

Screenshot+2019-12-01+at+7.19.41+PM.jpg

Step 2: Choose A Campaign

After you click “Create Campaign” a window will pop up with all the campaigns you can choose. Select “Email”.

Next, you will see a window appear with all the types of emails you can create.

Screenshot+2019-12-01+at+7.19.55+PM.jpg

Step 3: Choose Email Type

Right now, choose either “Regular” Emails (one email sent once to subscribers) or “Automated” Emails (a series of emails sent to subscribers over a specific period of time).

Note: Automated emails require a paid account of at least $9.99/mo. To continue using the free version of MailChimp, practice your email campaigns with the Regular email.

Screenshot 2019-12-01 at 7.20.00 PM.png

Step 4: Name the Campaign

The name of the campaign should make sense to you as it is only for organizational purposes. You are the only one who will see this campaign name in MailChimp. Because you will create many email campaigns, I recommend using the following naming conventions for any type of campaign:

1. What email list (subscribers) is receiving this email? For example, blog readers.

2. What are they receiving in this email? For example, December discount offer.

Now I will name this campaign Blog Readers - December Discount so I can easily see what this email is offering and who it is being sent to without reading it.

Screenshot+2019-12-01+at+8.41.32+PM.jpg

Step 5: Create Email Settings

Add the audience who will receive these emails by clicking “Add recipients”

Screenshot+2019-12-01+at+8.41.40+PM.jpg

Step 6: Set “To” & “From” Fields

Then add the email address you would like the email to show in the FROM line in subscribers’ inboxes (this will automatically default to the email address you entered in the Audience settings)

Screenshot+2019-12-01+at+8.43.01+PM.jpg

Step 7: Create a subject that subscribers will see in their inbox

See tips for email subjects here

Screenshot+2019-12-01+at+8.43.24+PM.jpg

Step 8: Choose A Template

The simpler the better. I recommend the “Basic” templates (1 column) to keep emails short, simple and to the point.

Note: All templates in the “Themes” section are preloaded with content. I recommend avoiding these because they are pre-branded. In order to keep emails consistent and on-brand, it is best to use the templates in the “Layouts” section so you can upload your own branded content.

Screenshot+2019-12-01+at+8.44.30+PM.jpg

Step 9: Design the Email

Follow MailChimp’s template to add images, headlines and content.

Select the different types of content on the right - text, boxed text, divider, image, image group, social follow, button, etc. - and drag them to the left in the template.

Great! Now that you know how to construct an email campaign, it’s time to learn how to format emails so they nurture emotional connections with audiences.

(This is the key to keeping subscribers who will one day make a purchase!)